
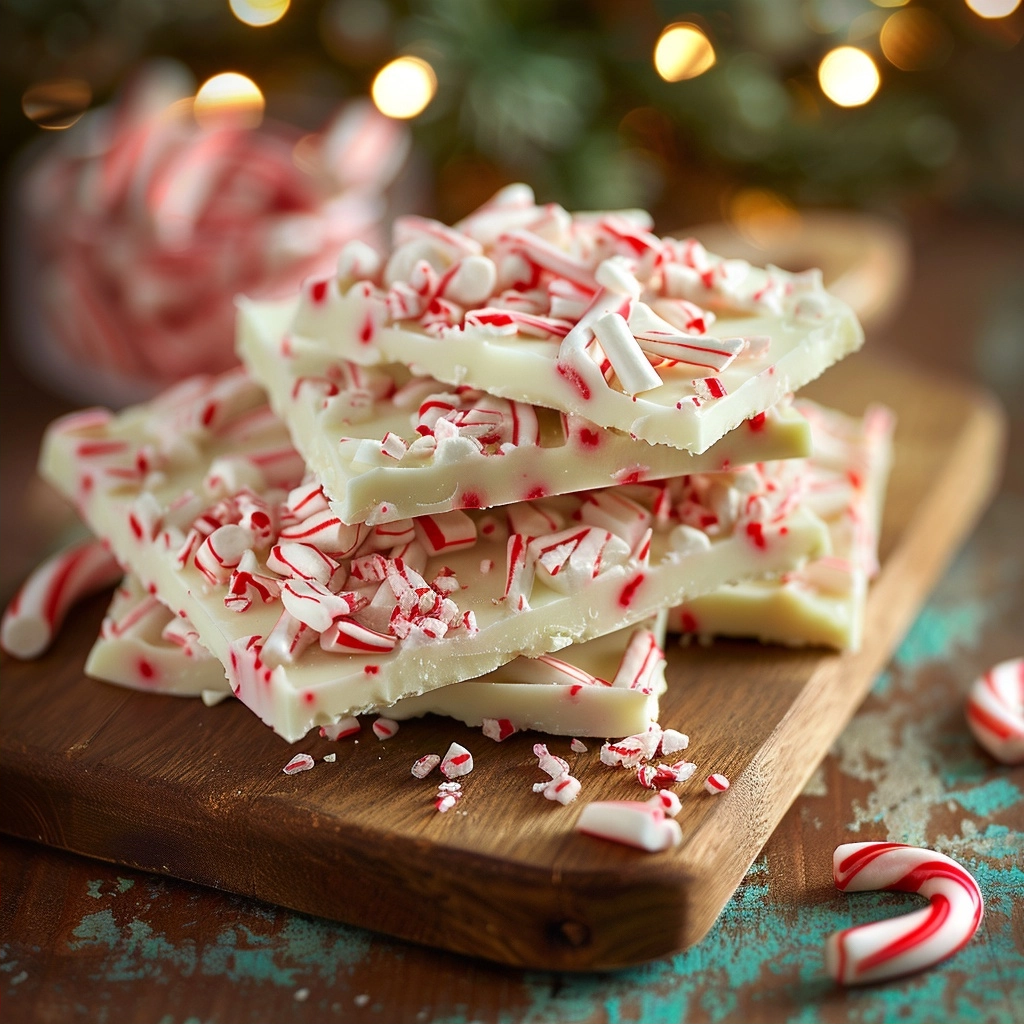
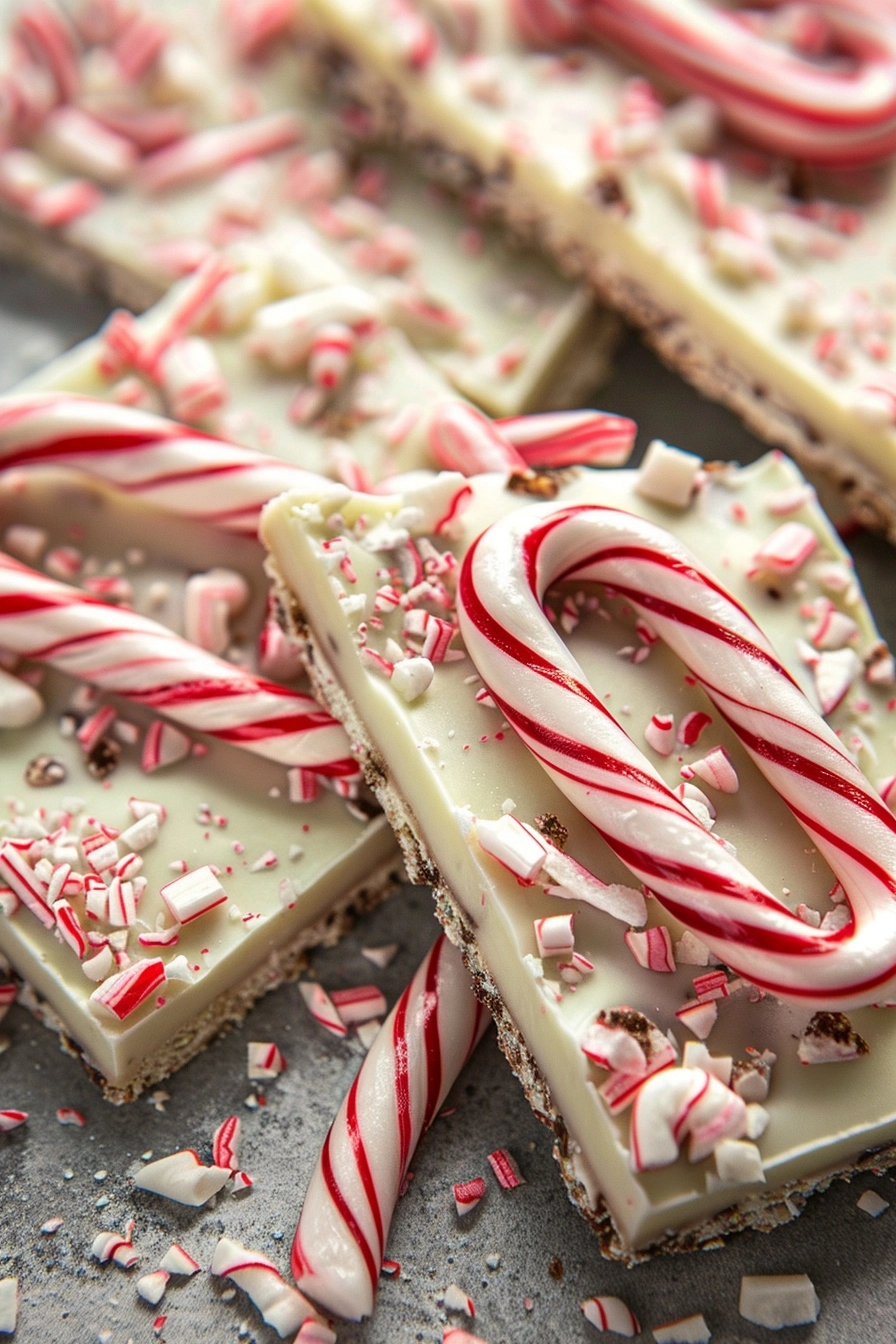
Peppermint bark with crushed candy canes constitutes a classic holiday confectionery consisting of layered dark and white chocolate infused with cool peppermint extract. This traditional treat provides a crisp, refreshing crunch perfectly suited for festive gatherings and gift-giving occasions. Master the balance of high-quality tempered chocolate to ensure a smooth, professional finish every time you prepare this simple yet elegant holiday favorite at home.
| Prep Time | Cook Time | Total Time | Servings | Difficulty | Cuisine |
|---|---|---|---|---|---|
| 15 minutes | 20 minutes | 2 hours | 16 squares | Easy | American Holiday |
Why This Recipe Works
This recipe relies on the contrast between rich, semi-sweet chocolate and creamy white chocolate to build complex flavor profiles. Layering these two distinct types of chocolate creates a visually striking dessert that looks impressive on any holiday platter.
Using high-quality chocolate chips or couverture discs ensures the bark melts evenly without seizing or developing streaks. I have found that adding a touch of peppermint oil to both layers provides a consistent burst of winter flavor in every single bite.
Ingredients
| Ingredient | Quantity | Notes |
|---|---|---|
| Semi-Sweet Chocolate | 12 ounces | Use high-quality chips or bars |
| White Chocolate | 12 ounces | Avoid white confectionery coating |
| Peppermint Extract | 1 teaspoon | Divide between layers |
| Candy Canes | 6 large | Crush into fine shards |
Step-by-Step Instructions
Layering the Base
- Melt the semi-sweet chocolate in a double boiler over low heat until smooth.
- Stir half of the peppermint extract into the melted dark chocolate mixture.
- Spread the chocolate into a parchment-lined baking sheet using an offset spatula.
- Chill the tray in the refrigerator for twenty minutes until firm.
Finalizing the Bark
- Melt the white chocolate in a clean double boiler until completely fluid.
- Whisk the remaining peppermint extract into the white chocolate carefully.
- Pour the white chocolate over the firm dark layer and spread evenly.
- Sprinkle the crushed candy canes over the top before the chocolate sets.
Chef Tips for Perfect Results
- Always use high-quality chocolate with at least 60 percent cocoa solids for the base layer to ensure a rich taste.
- Crush your candy canes inside a sealed plastic bag using a heavy rolling pin to maintain uniform piece sizes.
- Avoid any water contact with your chocolate during the melting process to prevent the mixture from seizing into a grainy texture.
- Use an offset spatula to spread the white chocolate layer quickly before it begins to set on the cold dark base.
Common Mistakes to Avoid
Overheating the chocolate remains the most common error that ruins the texture of the bark. High heat causes sugar to burn and proteins to clump, resulting in a gritty mouthfeel that detracts from the dessert quality. Always use a gentle double boiler method to control the temperature effectively.
Adding water to melting chocolate creates immediate seize, where the fat and solids separate into a stiff, unusable mass. Ensure all bowls and utensils are perfectly dry before starting your production. Never cover the melting chocolate with a lid that might trap condensation.
Variations and Substitutions
| Ingredient | Substitution | Impact on Flavor |
|---|---|---|
| Semi-Sweet Chocolate | Dark Chocolate | Increases bitterness and intensity |
| Candy Canes | Peppermint Candies | Less visual appeal but similar taste |
| White Chocolate | Vanilla Almond Bark | Lower cost and easier to melt |
Serving Suggestions and Pairings
Serve this festive bark alongside hot cocoa or a robust dark roast coffee to cut through the sweetness. It performs exceptionally well as a decorative addition to holiday dessert charcuterie boards alongside dried fruits and nuts. Consider breaking the bark into irregular shards for a rustic aesthetic suitable for holiday gift boxes or seasonal party platters.
Storage and Reheating
| Method | Duration | Instructions |
|---|---|---|
| Cool, Dry Place | 2 weeks | Store in airtight container |
| Refrigerator | 1 month | Place between layers of parchment |
Nutritional Information
| Nutrient | Amount per Serving |
|---|---|
| Calories | 180 kcal |
| Fat | 12g |
| Sugar | 18g |
| Protein | 2g |
Approximate values.
Frequently Asked Questions
How do you keep the candy canes from bleeding into the white chocolate?
Wait for the white chocolate to cool slightly before adding the candy cane pieces to prevent the dye from leaching. Placing the bark in the refrigerator immediately after topping also helps lock the colors in place.
What is the best way to cut the bark without shattering it?
Use a heavy chef knife to gently score the surface of the bark before applying pressure to snap it into shards. Allow the chocolate to reach room temperature for five minutes before cutting to reduce the risk of brittle cracking.
Can you use essential oils instead of extract?
Food-grade peppermint essential oil works well but requires much smaller amounts than standard extract. Start with a single drop and taste the mixture before adding more to maintain the balance.
How long can you keep peppermint bark?
Peppermint bark stays fresh for up to one month when stored in a cool, airtight container away from direct light. Ensure the bark is completely hardened before packaging to prevent melting or sticking.
Does the type of candy cane affect the crunch?
Traditional hard candy canes provide the best crunch compared to soft or chewy varieties which may become gummy. Ensure your candy is fresh to guarantee the signature brittle texture that defines excellent peppermint bark.
Creating homemade peppermint bark with crushed candy canes allows you to enjoy a premium holiday treat with total control over ingredient quality. By following these precise layering techniques and temperature controls, your final product will match the standard of professional confectioners. Embrace the process, share the results with friends, and enjoy the refreshing peppermint notes throughout the holiday season.
PrintPeppermint Bark with Crushed Candy Canes
Indulge in the quintessential holiday treat with this elegant peppermint bark. This recipe features a rich, velvety foundation of high-quality semi-sweet chocolate topped with a smooth layer of creamy white chocolate. Infused with cooling peppermint extract and finished with a festive, crunchy topping of crushed candy canes, this dessert offers a perfect balance of textures and flavors. Simple to assemble yet visually stunning, it makes an ideal centerpiece for holiday platters or a thoughtful, handcrafted gift for your loved ones.
- Prep Time: 15
- Cook Time: 20
- Total Time: 120
- Yield: 16 squares 1x
- Category: breakfast
- Method: Melting
- Cuisine: American Holiday
- Diet: Vegetarian
Ingredients
12 ounces semi-sweet chocolate, high-quality
12 ounces white chocolate, high-quality
1 teaspoon peppermint extract
6 large candy canes
Instructions
Melt the semi-sweet chocolate in a double boiler over low heat until smooth.
Stir half of the peppermint extract into the melted dark chocolate.
Spread the dark chocolate onto a parchment-lined baking sheet using an offset spatula.
Chill the tray in the refrigerator for twenty minutes until firm.
Melt the white chocolate in a clean double boiler until completely fluid.
Whisk the remaining peppermint extract into the white chocolate.
Pour the white chocolate over the firm dark layer and spread evenly.
Sprinkle the crushed candy canes over the top before the chocolate sets.
Refrigerate until fully hardened then break into pieces.
Notes
Use high-quality chocolate with at least 60 percent cocoa solids for the base. Crush candy canes inside a sealed plastic bag using a heavy rolling pin to prevent messes. Ensure no water touches the chocolate during melting to prevent it from seizing.
Nutrition
- Serving Size: 1 square
- Calories: 210
- Sugar: 22g
- Sodium: 15mg
- Fat: 12g
- Saturated Fat: 7g
- Carbohydrates: 26g
- Fiber: 1g
- Protein: 2g
- Cholesterol: 5mg